Create a journey
Create the Journey record first. Then configure entry and outcomes, build the workflow, and publish each layer deliberately.
Open New Journey
In the Admin app, open Campaigns, then Journeys. Select New Journey.
Name the operating purpose
Use a name that tells staff who enters and why, such as
New members | First 14 days.
Use the description to record the business goal, expected entry event, and owner. Do not place member information in either field.
Choose Blank or a template
Choose Blank when the workflow should be designed from an empty starting point.
Choose a template when its steps are close to the intended operating pattern. FitStack clones the template into this Journey. Later workflow edits affect this Journey’s copy, not the reusable source template.
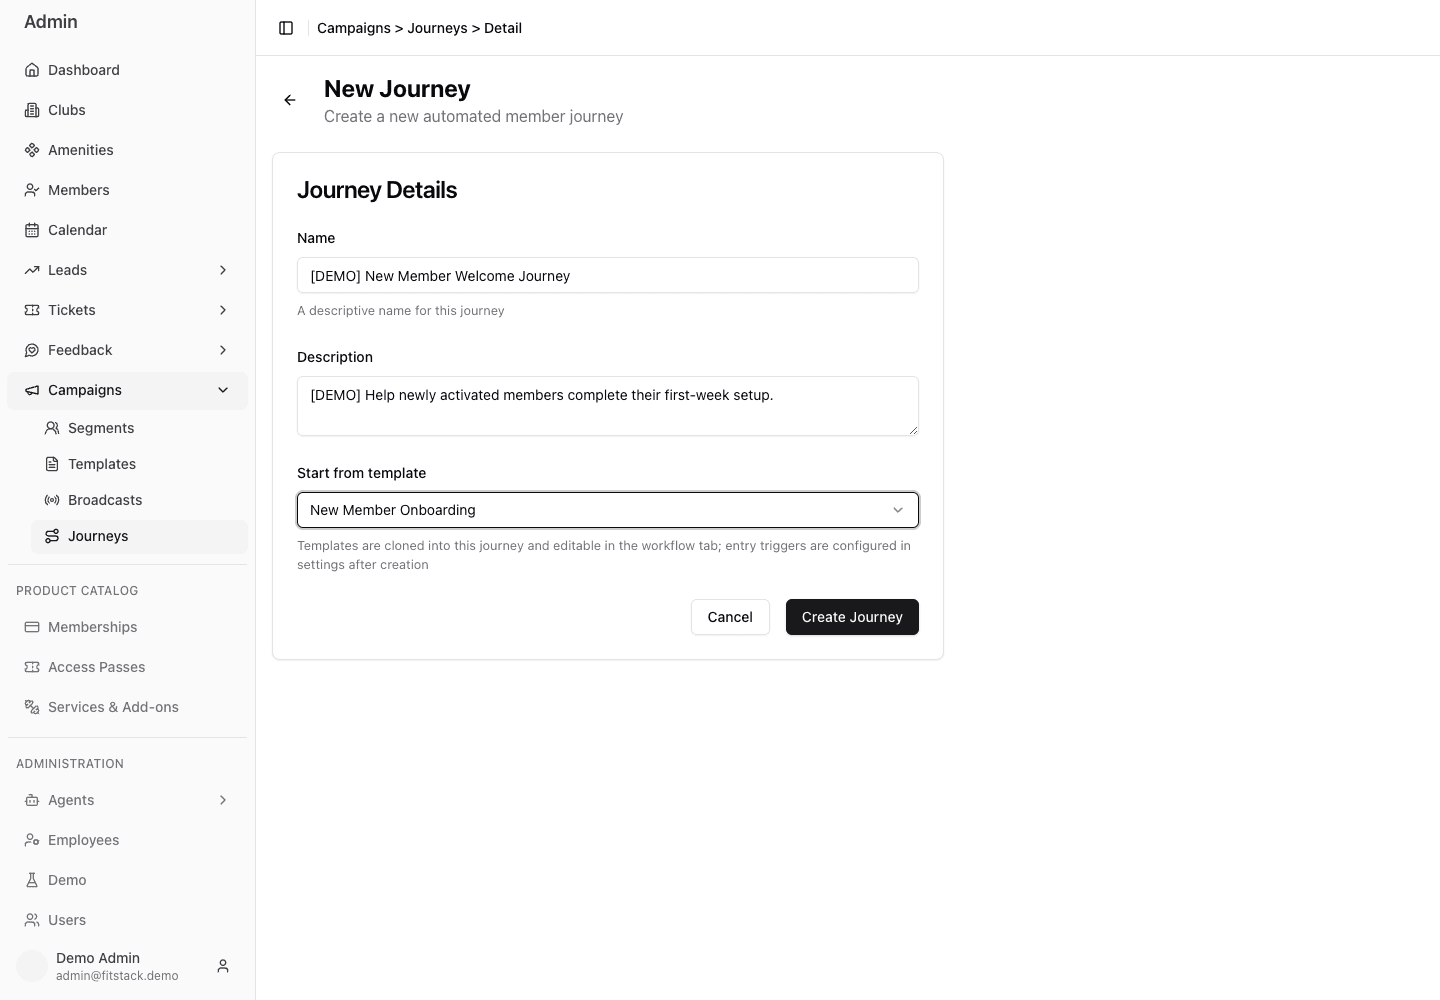
- 1Name the audience and operating purpose.
- 2Record the goal and expected entry event.
- 3Start Blank or clone a Journey template.
- 4Create only after checking all three choices.
Enters a synthetic Demo Journey name and description, then selects the New Member Onboarding template. The clip stops before Create Journey, so no Admin state changes.
Create the record
Select Create Journey. FitStack opens its Settings page.
- A template-based Journey receives an editable clone of that workflow.
- A Blank Journey receives an empty starter workflow that you can build in the editor.
Creation does not make the Journey active.
What comes next
Complete these checkpoints before campaign publish:
- add at least one entry trigger;
- choose re-entry, protection settings, and limits; review the dormant goal settings and plan Eligibility Gates for every path that may outlast Max Duration;
- configure a lead destination if a workflow step creates an opportunity;
- save and publish a valid workflow version;
- review Overview and Diagram;
- publish the Journey.
Create Journey, Save Changes, Save Draft, workflow Publish, and Journey Publish are separate persistent actions. Saving one layer does not complete the next.